Bevy Application Bootstrap


Let’s get started with a new application where we will implement out Text Gem game framework. You should be somewhat familiar with developing Rust if you want to follow along. If you don’t know Rust well, this could be a good way to start learning!

Prerequisites

You need to install Rust using rustup. Once you have Rust installed, we’ll create a new project to start coding.

Terminal

1
2
3
4
5
6
7
8
# Create a new Rust project
cargo new textgem

# Go into the newly-created project folder
cd textgem

# Run the Hello, World! default application
cargo run # You should see "Hello, world!" appear in your terminal

Create Application Window

Next up we will want to create a window that we can draw to. In order to do this, we’ll need to add Bevy as a dependency to our project and modify the main.rs file.

cargo.toml

 1
 2
 3
 4
 5
 6
 7
 8
 9
10
11
12
13
14
15
[package]
name = "textgem"
version = "0.1.0"
edition = "2021"

[dependencies]
bevy = "0.12"

# Enable a small amount of optimization in debug mode
[profile.dev]
opt-level = 1

# Enable high optimizations for dependencies (incl. Bevy), but not for our code:
[profile.dev.package."*"]
opt-level = 3

main.rs

 1
 2
 3
 4
 5
 6
 7
 8
 9
10
11
12
13
use bevy::prelude::*;

fn main() {
    App::new()
        .add_plugins(DefaultPlugins.set(WindowPlugin {
            primary_window: Some(Window {
                title: "Text Gem".to_string(),
                ..Default::default()
            }),
            ..Default::default()
        }))
        .run();
}

Rerun Application

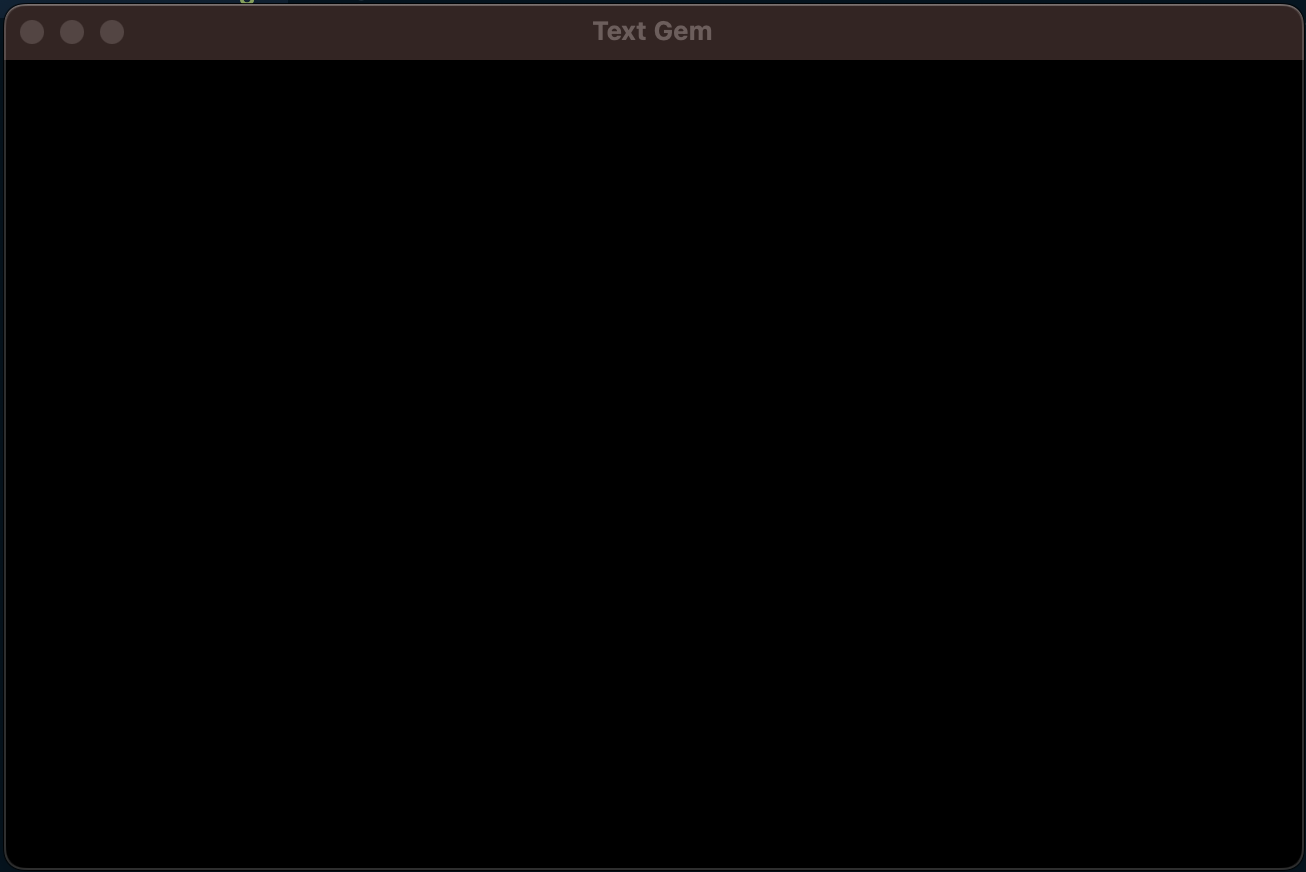
Once you have modified these two files, run the application again using cargo run. You should now see a blank window appear on your screen. Text Gem Application Window

Add TextGem Plugin

Bevy uses a plugin system to add logic to an application. Everything in Bevy is initialized using a plugin by default, including the windowing framework and core rendering framework. It is convenient to structure our TextGem application code as a plugin. To do this, we need to create an implementation of the Plugin trait and add it to the Bevy application. Update main.rs with out TextGem plugin code.

main.rs

 1
 2
 3
 4
 5
 6
 7
 8
 9
10
11
12
13
14
15
16
17
18
19
20
21
22
23
24
25
26
27
28
use bevy::prelude::*;

fn main() {
    App::new()
        .add_plugins(DefaultPlugins.set(WindowPlugin {
            primary_window: Some(Window {
                title: "Text Gem".to_string(),
                ..Default::default()
            }),
            ..Default::default()
        }))
        .add_plugins(TextGem)
        .run();
}

pub struct TextGem;

impl TextGem {
    fn hello_world() {
        println!("Hello, world!")
    }
}

impl Plugin for TextGem {
    fn build(&self, app: &mut App) {
        app.add_systems(Startup, Self::hello_world);
    }
}

We should now see “Hello, world!” printed to the console along with our application window.

Render a Cube

Next, let’s render a blue cube to the screen and light it up using the builtin physically-based rendering (PBR) pipeline that is included with Bevy.

main.rs

 1
 2
 3
 4
 5
 6
 7
 8
 9
10
11
12
13
14
15
16
17
18
19
20
21
22
23
24
25
26
27
28
29
30
31
32
33
34
35
36
37
38
39
40
41
42
43
44
45
46
47
48
49
pub struct TextGem;

impl TextGem {
    fn hello_world() {
        println!("Hello, world!")
    }

    fn startup(
        mut commands: Commands,
        mut meshes: ResMut<Assets<Mesh>>,
        mut materials: ResMut<Assets<StandardMaterial>>,
    ) {
        // Camera
        commands.spawn(Camera3dBundle {
            transform: Transform::from_xyz(200.0, 600.0, 200.0)
                .looking_at(Vec3::new(0.0, 0.0, 0.0), Vec3::Y),
            ..default()
        });

        // Light
        commands.spawn(DirectionalLightBundle {
            transform: Transform::from_rotation(Quat::from_euler(
                EulerRot::ZYX,
                0.0,
                1.0,
                -3.14 / 4.,
            )),
            directional_light: DirectionalLight {
                shadows_enabled: true,
                ..default()
            },
            ..default()
        });

        // Cube
        commands.spawn(PbrBundle {
            mesh: meshes.add(shape::Cube::new(100.0).into()),
            material: materials.add(Color::BLUE.into()),
            ..Default::default()
        });
    }
}

impl Plugin for TextGem {
    fn build(&self, app: &mut App) {
        app.add_systems(Startup, Self::hello_world)
            .add_systems(Startup, Self::startup);
    }
}

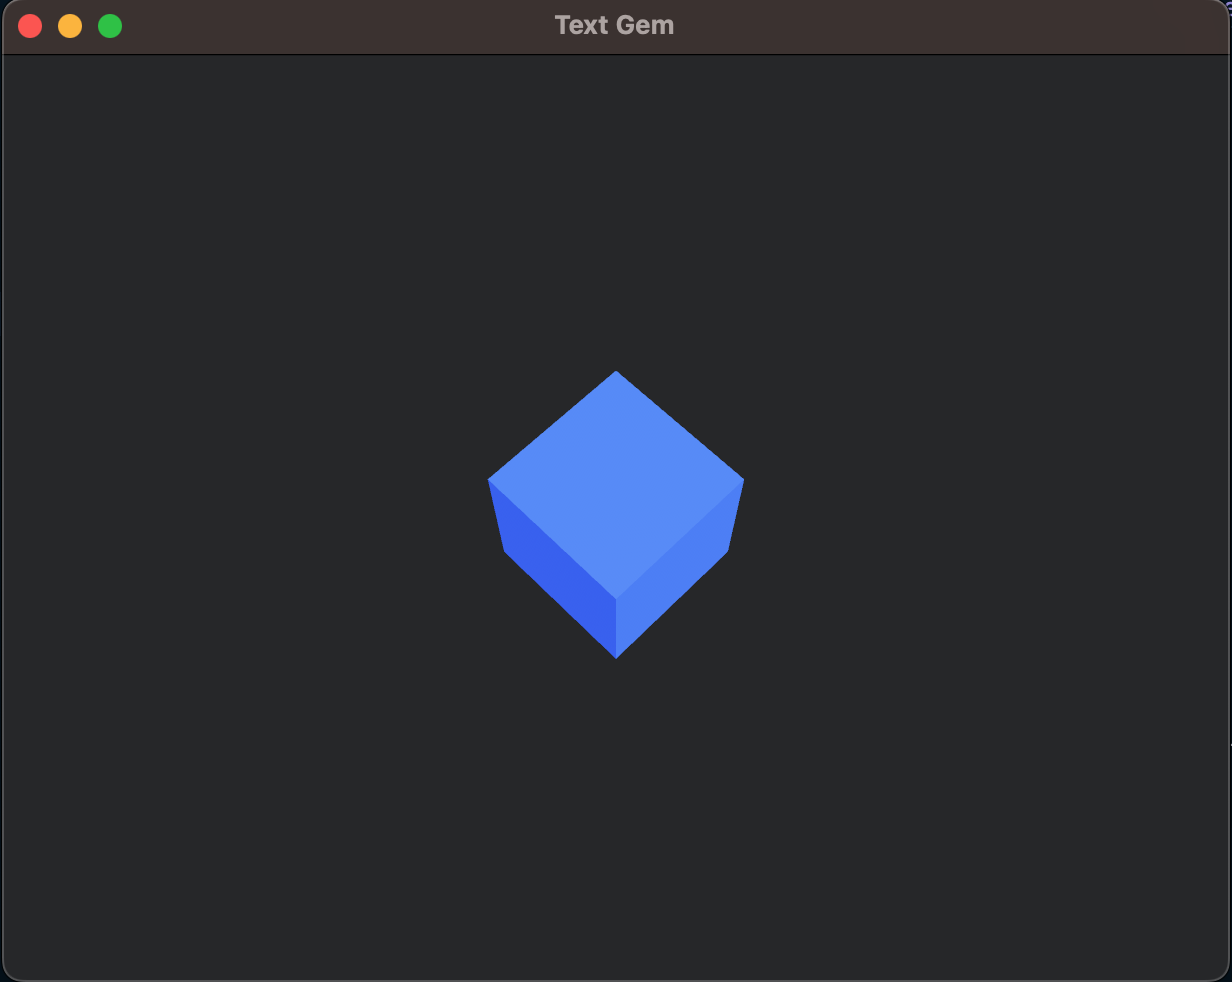
Now if you run your application with cargo run you should see a blue cube in the middle of the window.

Blue Cube

Next Up…

That does it for this post. You have successfully built your first Bevy application, congratulations! In the next post, we will start to render graph paper!

Full code for this post can be found here: TextGem Post 1.